
My Layering System for Winter Backcountry Adventures
I have now spent 6 years living and adventuring through the cold, dark winters of northern Norway. After some intense seasons of winter mountaineering, ice climbing and splitboarding I have definitely refined my approach to winter layering, and thought it might be useful to share my findings.
Of course, my approach to layering adapts to the weather and temperature on any given day, and will change as it approaches the warmer spring months, but I have found a system that works for me on most winter trips. I have listed some tips and detailed my layering system here, and also provided links (not sponsored) to some of the clothing that I have found particularly useful or robust over the years.

Cold and windy mountain peaks require some strategy to layering – often a fine balance between keeping moving and adding/removing layers. Photo: Pavel Serov.

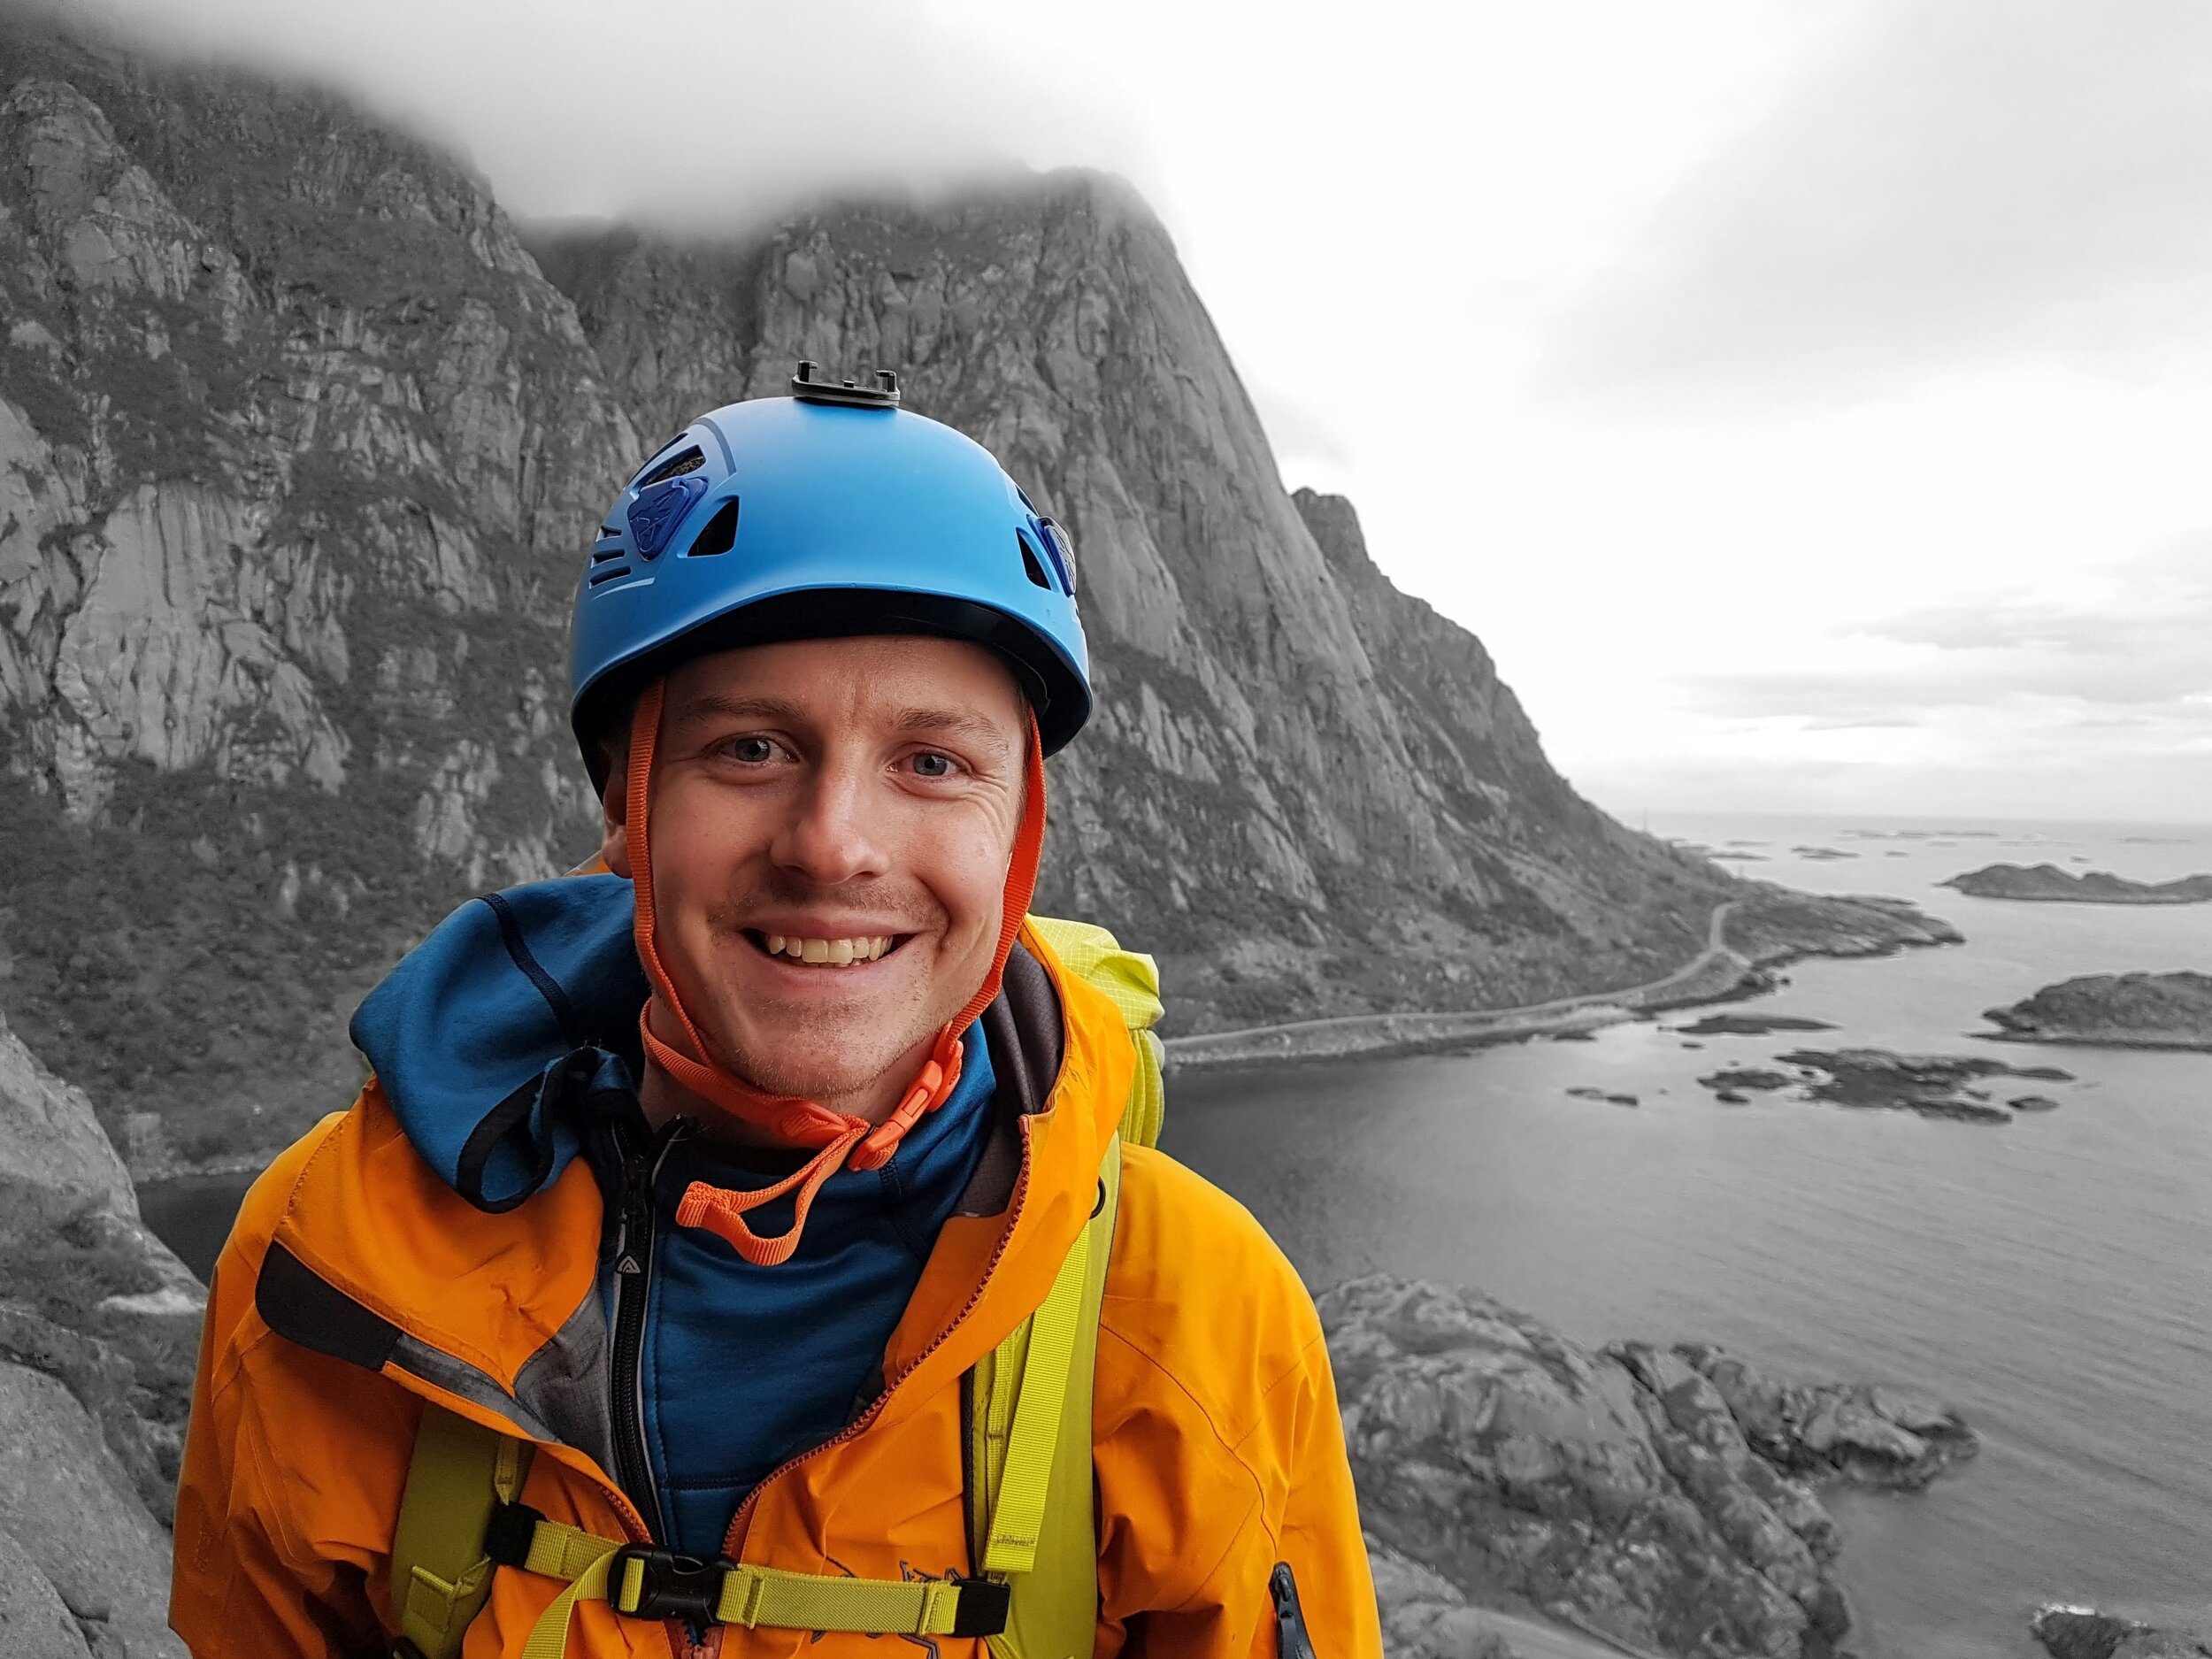
All smiles setting off in just a base layer on warmer or faster days.
In my opinion, the key to maintaining a good temperature at the beginning of a trip is to START COLD. It is often tempting to layer up at the car as you prepare for the trip and make last-minute adjustments, fit boots, stick skins to skis (though I do this just before I leave the house), etc. However, equally tempting when you first set off is to start fast, and this can lead to overheating and sweating within the first few minutes of leaving the car, which can be a set up for being too cold for the entire trip!
Instead, I try to set off in just a base layer on my upper half, with any vents on the lower half fully open, and with my hat, gloves and buff stuffed inside my pockets. An extra step in heat/moisture regulation comes with having a zip down the base layer to cool off if needed and a high collar for when it gets colder. I also keep both my outer shell layer and mid-layer in an easily reachable place in my bag for when things slow down a little higher up.
I’ve been using my Arc’teryx Rush shell jacket intensively for 6 years and it’s still going strong! I have just added a few GoreTex patches on the back where its worn through, and added cord replacements for some of the zip pulls. I’m also a huge fan of primaloft mid-layer jackets and find these a good, light alternative to wool, especially on larger objectives!
Exceptions to this setup are: when it is particularly windy, then I will wear my outer shell jacket when setting off, or if it is on the extreme cold side, I will wear my mid-layer over base-layer. It’s also worth considering who you are heading out with and what the pace is likely to be – dress accord to whether you will be speeding up the slopes or taking it easy!

Open GoreTex shell jacket over base-layer if it’s looking like high winds might become an issue further up. Photo: Mariana Esteves.

Ascending in a mid-layer on the colder days can prevent the moisture build-up that can be a problem with GoreTex shells. Photo: Pavel Serov.
On my lower half, I almost always wear a base layer with Softshell/GoreTex mix shell-layer over the top, then I use side vents to regulate heat on the ascent. On my feet, I have started to wear a pair of thin regular socks beneath my thicker ski socks. This adds some insulation and absorbs moisture, with the added benefit that the thinner socks protect really well from friction between the boots and socks, reducing the chance of hotspots or blisters. I also always take two pairs of gloves. One thin pair for fast and warm ascents, and either a pair of mittens that I can put over the top of the thinner gloves if necessary, or a pair of thick winter mountaineering gloves for more technical ascents.
If there is a chance of being stood still for a good length of time it’s important to have a super warm, big down jacket on hand. This winter I spent a lot of time belaying at the base of ice climbing routes, either through guiding or recreational adventures. I got a lot of use out of my Norrøna Trollveggen Down jacket and have felt toasty in that even in high winds and spindrift while guiding over in Lyngen.

The big down, used often when standing around belaying or in extremely high winds or low temperatures. Photo: Mariana Esteves.
I’ve spent a lot of time over the years refining my approach to layering, and when first starting out with winter mountaineering and ski touring it is perhaps best to take more than you need just in case you get caught out. However, as your skill and fitness increases it becomes possible to move faster and lighter in the mountains, and reducing the amount you carry around with you can be a fine and useful art!
Thank you for reading this review, I hope you found it useful to read about my approach to winter layering systems! Let me know in the comments section below or get in touch if you have any of your own winter layering suggestions and I’ll be sure to try them out!
Next week I’ll be reviewing my AT boot setup for splitboarding after two intense winter seasons up here in the northern playground.
- Calvin -